How to Make Playdough at Home: Easy Recipe & Fun Playdough Activities for Kids
Create homemade playdough in just 10 minutes with simple ingredients! Follow our step-by-step guide and discover fun, creative activities to enjoy with your kids.
This post may contain affiliate links, which means I may receive a commission, at no extra cost to you, if you make a purchase through a link. Please see my full disclosure for further information.
Have you ever met a child who didn’t like working with craft dough or clay of some kind? I know I haven’t! In fact, I still love working with it!
Play, or craft, dough is such a soothing material to use. It’s very pliable, making it easy to use for little hands. It’s also extremely versatile and can be used in many learning activities for preschoolers and kindergarteners.
But did you know that it’s also incredibly simple to make your own playdough at home?
How to Make Playdough at Home
You may be wondering why bother making your own playdough at home when you can easily find it in so many stores? Personally, I’ve never been a fan of the store-bought dough. I think it has a strange smell and it seems to quickly dry out.
So when my oldest children were younger, I found recipes online and started making my own. After trying many different recipes, I finally settled on one I love and have been using for over 15 years now. I don’t remember where I found the recipe, or even if I tweaked some I saw, so unfortunately I can’t credit anyone for sharing this recipe originally. However, I do have it listed here for you.
I buy the cheapest flour and salt for this recipe and store them in a basket that I use only when making playdough. I also buy cream of tartar in bulk at a small local store. When I made this years ago, I used vegetable oil. However, we no longer cook with that, so I never have it in the house. Instead, I just use olive oil and it works fine.
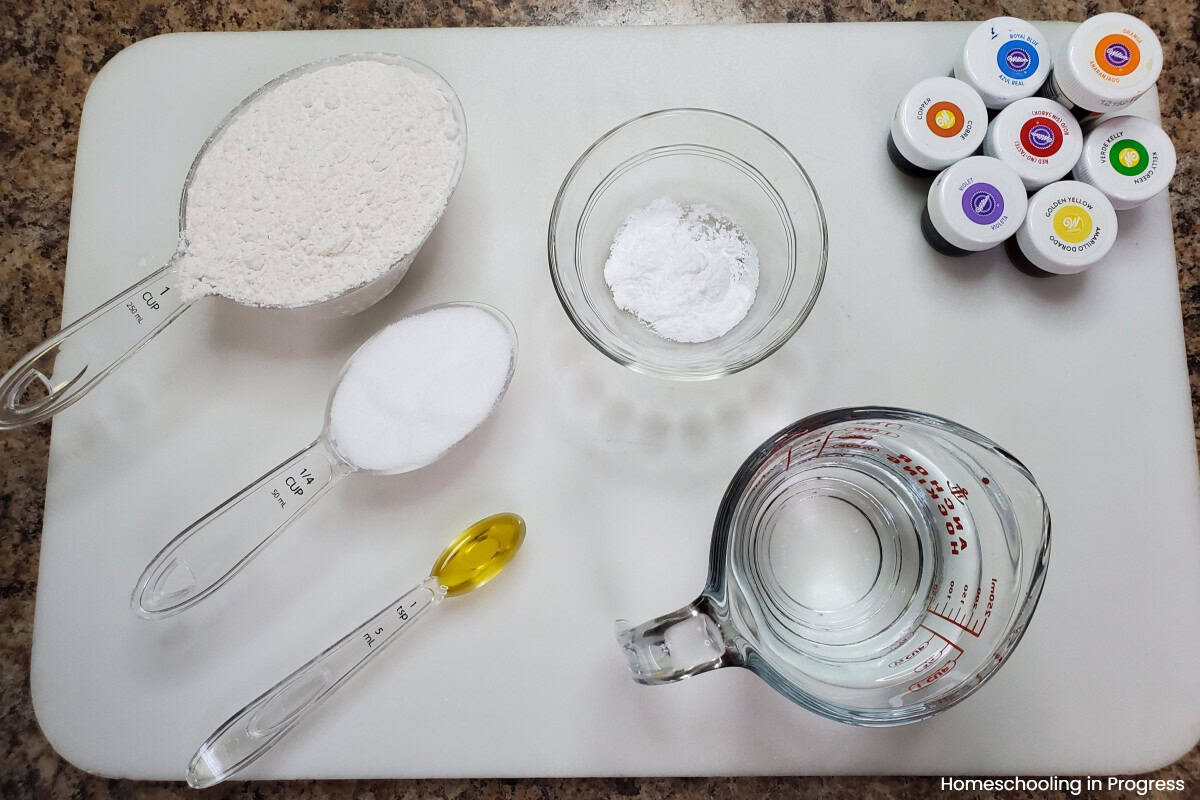
Ingredients Needed
Here are the ingredients you’ll need to make playdough at home. If you’d like a nice printable copy to hang up, you can join my email community and receive a printable copy along with some fun playdough mats.
Ingredients:
1 cup flour
1 cup warm water
1/4 cup salt
2 teaspoons cream of tartar
1 teaspoon oil
food coloring (optional)
Step-by-Step Directions
Once you gather your ingredients, you can make playdough at home in around 10-15 minutes.
First, place all ingredients except for food coloring in a medium saucepan.
Next, heat on stove on medium heat, stirring continuously, until the mixture pulls together into a ball. This will take a few minutes.
Then, spoon out the ball of dough onto a smooth surface, such as a cutting board or counter.
Once cool enough to handle but still warm, knead the dough until it becomes smooth and pliable.
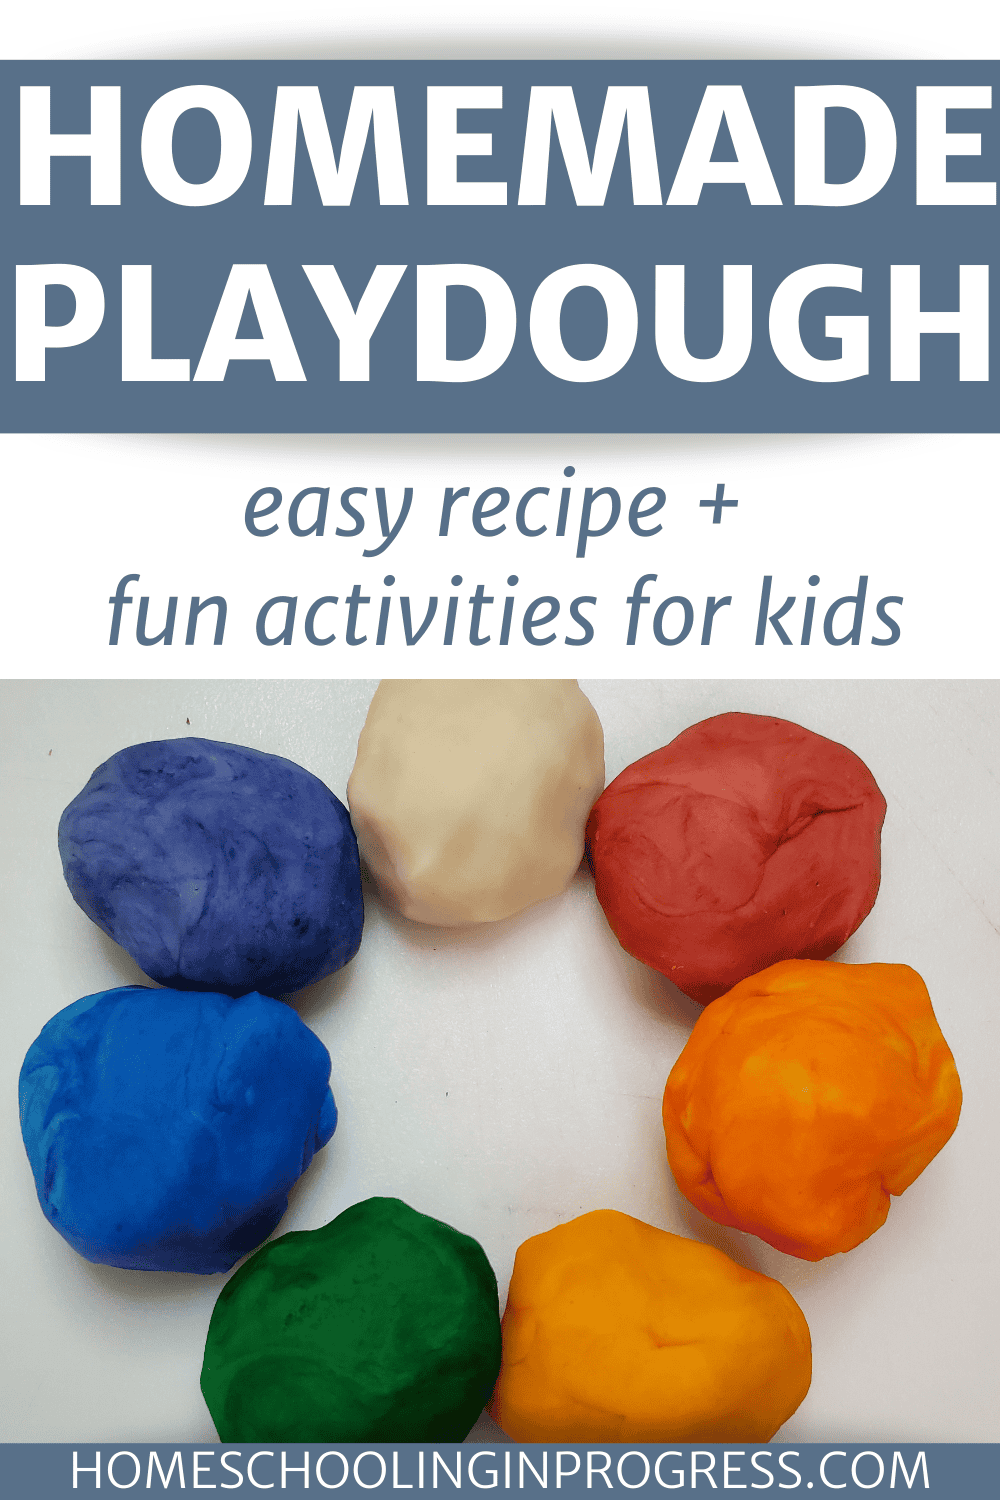
If using food coloring, you can add some now. I like to split the dough into three or four pieces so I can make several colors at once. Knead the dough until the food coloring is completely worked into it.
It’s now ready for play!
You can also watch a step-by-step video of me making the dough below.
Homemade Playdough Tips
I like to use gel food coloring, like this set by Wilton. You may be able to find it at local craft stores in a set of 8 or 16 colors, which is great to buy with a store coupon. I’ve had our gel coloring for so many years that it’s starting to dry up. So it definitely lasts through a lot of uses, which makes it more cost-effective.
Also, adding the food coloring while the dough is still warm, but not hot, helps it mix in more easily. You may get some of the coloring on your hands while you knead, but it does wash off fairly easily. I’ve never had a problem with the color rubbing off onto surfaces or my kids’ hands once the playdough cools.
Another tip is to make sure you use the cream of tartar. You can find many online recipes without it, but cream of tartar helps bind the playdough together and helps it last awhile. It also helps give it a smooth texture.
My final tip is to store the homemade playdough in an airtight container when not in use. I prefer to use ziptop sandwich-size baggies for ours. I’ve found that our playdough tends to last a couple of months before it starts to harden or get moldy.
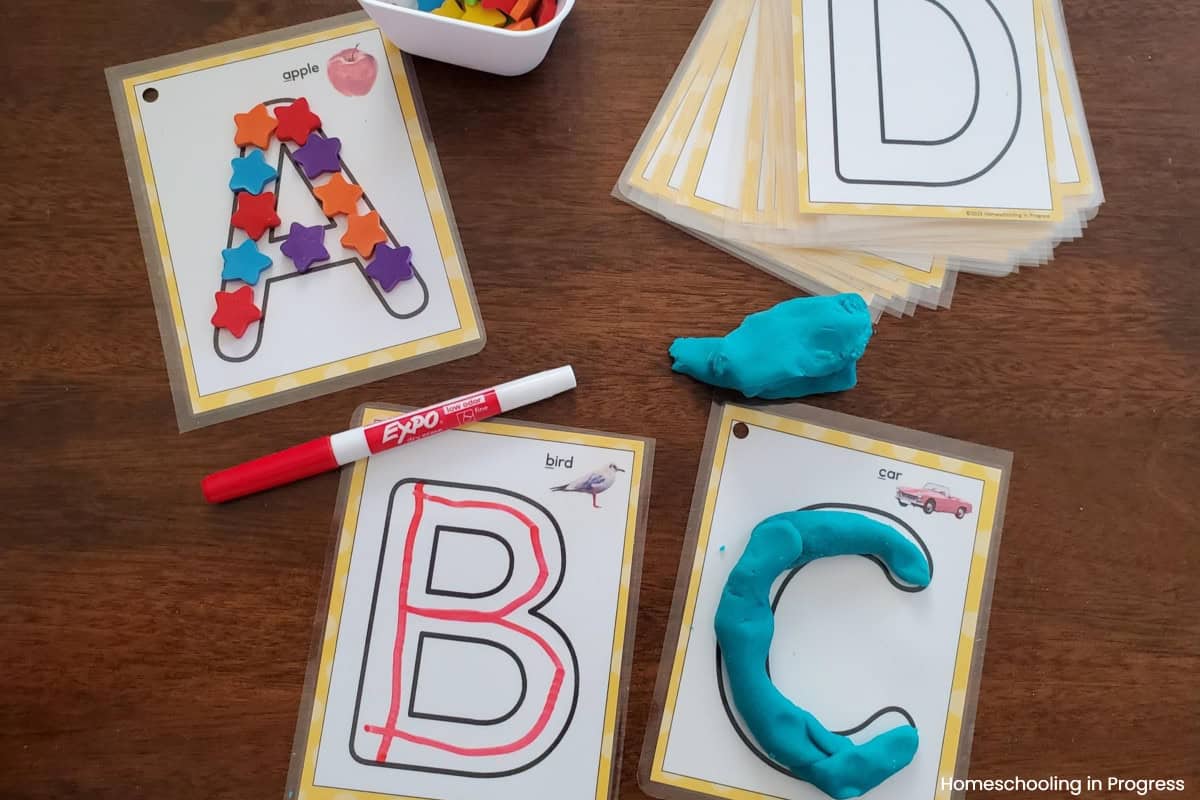
Download the Recipe
Would you like to have a pretty printable recipe? You can click the link below to grab a copy. You’ll also receive uppercase alphabet playdough mats your kids will love. As an added bonus, you’ll become a member of my email community and receive monthly tips, activity ideas, and often more free printables.
Playdough Activities
Now that your playdough is made, what can you do with it?
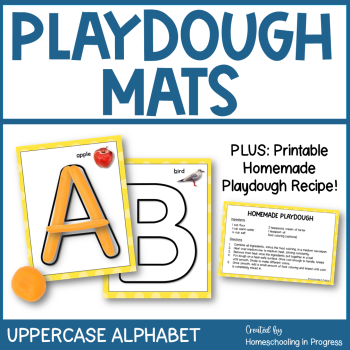
The good thing is that the answer is: a lot! Playdough is great for developing fine motor skills and strengthening your little one’s hands. So just playing with it, with or without fun playdough mats, makes it a perfect learning tool. Your children can also use homemade playdough to form letters or numbers, roll into balls to count and show a certain amount.
Kids can make something and describe it, which is another good learning activity and develops creativity. They can make shapes with it or mix two colors of playdough together to make new colors. Using premade pictures of objects to recreate with dough is great for practicing hand-eye coordination and problem solving. I often like to gather fun items around the house like buttons, cut up straws, vase filler gems and small toys and place them on a tray with some playdough as an invitation to play.
As you can see, making playdough at home is simple and has so many uses! It’s a wonderful learning tool for preschoolers and kindergarteners. Plus kids love playing with it, which is the best way for them to learn. Gather a few simple ingredients and in 10 minutes, you can have your own homemade playdough for your little ones to enjoy!


